
As I said before we're going to be working through this a little at a time with a week in between to help you sort out confusion to build your perfect parts, perhaps make more than one version (for those of you thinking ahead towards gift-giving), and (as in my case) to help everyone also keep working on all of those UFOs that are patiently...or not so patiently...calling to you from your work baskets while you're making your new friends. That is going to mean that we're going to work these up in parts (trust me, my kids think it is hilarious that I am always carrying around a basket of body parts that I sew together after they are all finished but it has proven to be the best way for me to make sure that they all work out the right way), so set aside a corner of a basket or a bag to hold your finished pieces until the next "gathering". Week 1 (yep, this week) we'll be making the Body, Head, Nose, Neck, and Ears. Week 2 we'll make the Forelegs and Hindlegs. Week 3 we'll be stitching all of our parts together. Then week 4 we'll be going over what to do with all of that ruffle yarn for the mane and tail.
On
a more personal note, two things for you to know about me ahead of
time. I'm painfully far from being a YouTube specialist or camera
expert so I hope you'll bear with me as I'll refer you to the best
keywords I've been able to find to search videos out on YouTube on the
basic "how to" for the techniques. I recommend you watch a few as
you'll find that like with many fiber-weaving techniques there are a
couple variations on how to do things "properly"...go with taking the
time to study them out if you aren't familiar with them and find the one
that is going to yield the most smooth, secure results based on how you
hold/feed your yarn and hooks but be prepared for me to change things up a little bit as there are a couple thing I've learned to do differently with these that will help keep your project be more secure/able to survive (I have 3 boys who LOVE to "product test" things for me by beating each other with them when my back is turned so I learned to make sure of this one). Another note about me: I'm very far
from being a professional photographer, and I use an old camera. So
many times, you'll be able to tell the difference between which pictures
are taken/edited by me and which are by amazing photogs willing to lend
their skills....please just look for the details I'm pointing you at
and react with forgiveness (especially with the blurry pictures)? :) Ok, on to the real fun!
First up (for this week): tips and pictures that may help you as you stitch up the head, body, neck, ears, and nose of your pony.
One
of the biggest issues with most people in learning to work stuffed
animals (also known as amigurumi, depending on your style and end
product) is to learn and perfect the Magic Ring (otherwise also known as
magic circle, adjustable circle, adjustable foundation, magic
foundation round, etc). For those of you who are still learning how to
start a project with the Magic Ring, you can just search out several DIY
videos via YouTube with the terms mentioned before (like I said, I'm
not yet a YouTube specialist so I'm going to send you to others then try
to help from there) as they will give you the graphic and movement far
better than I can right now. Basically, it boils down to using your
feeding line instead of your tail to begin your first stitch leaving
your tail free to cinch your ring tightly closed. In the case of any
projects I'm making out of acrylic (because acrylic will slip so much
rather than felting together to secure as happens with natural fibers
such as wool) I'll not worry about working the 1st row over the tail and instead include a securing knot after I have worked the
slip stitch into the initial chain (making sure that the tail is pulled
up along the slip stitch). That securing knot is done by working a
tight granny or square knot with the tail and feeding lines, then
continuing on with my project and working the stitches over the remaining tail by laying it along the top of the first row's stitches.
 |
| So you'll know what I mean between tail and feed lines. |
 |
| Pulling the tail up BEFORE working the sl st to prep for knotting. |
 |
| After you work the sl st, tightly use the feed line and tail to tie a knot to secure the cinch on your magic ring. |
Another thing that might help some is an explanation of what it means in the pattern to "work a final stitch into the joining stitch". As an example, you'll be working a final double crochet into the joining stitch on row 3 of the head (the first time you'll find this). This isn't a typical approach (at least not with the patterns I've worked with in the past), but it works to maintain pattern repetitions.
 |
| Sorry for the blurry, but as stated normally you would just sl st to end the row but in this part of the pattern you're told to work into the joining stitch...and now you know where that is. |
Remember
as you are working these body parts to check ahead so you know which
rows to begin stuffing your pony (otherwise you'll find yourself
frogging your way backwards and redoing hefty chunks of given parts).
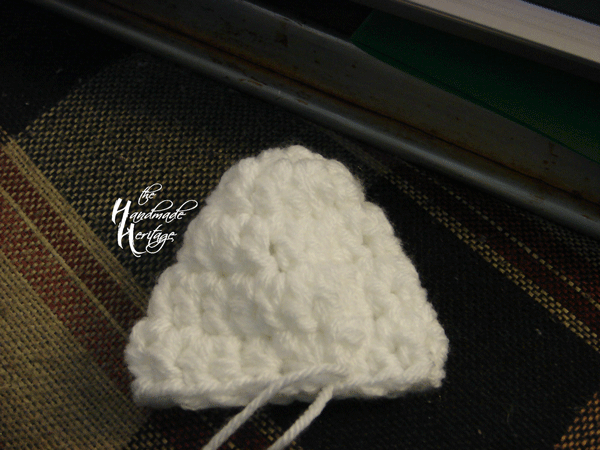
With the head, it will look something like....
 |
| Before tying off. |
 |
| After tying off. |
With the ears, you'll find instructions about doing a half double crochet 2 together. Honestly, I'll tell you to just head back over to YouTube and watch a couple of videos over there to learn the stitch. The end look of your ear should look like....
 |
| Just a pict to try and show you the differences between the stitches, this helps to create the 'fold' of the inner ear. |
Remember
with the neck and nose parts that you won't actually be stuffing these
until we go through and sew all of our parts together. (Yeah, my kids
all call it "Mom's Frankenstein complex, lol.)
No comments:
Post a Comment